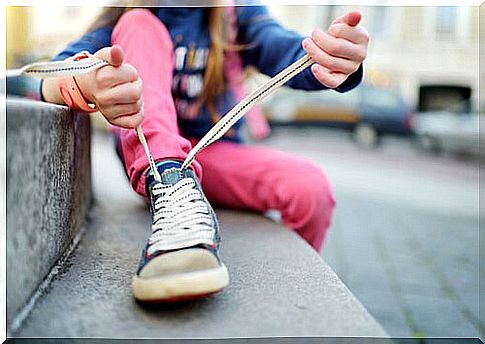
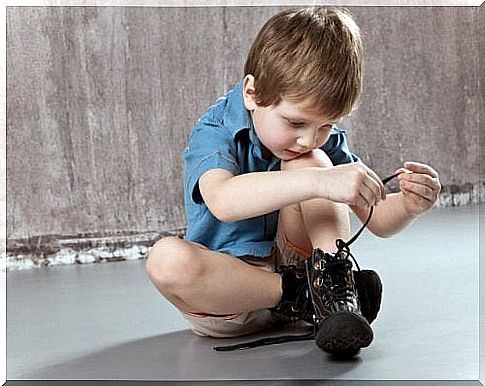
How To Tie Your Shoes: How To Teach Children

Many mothers, teachers and nannies are wondering what is the best way to teach the little one to tie his shoes. Although it is a daily action it is not such an easy technique to transmit.
Most children lack the coordination needed to tie their shoes effectively until they are 5 or 6 years old. Until then they will develop their fine motor skills and be able to learn through these simple steps.
But it is very useful for parents to have their own technique for teaching your children to tie their shoes. If possible, it is advisable to use the same method with which you have learned. But keep in mind that even if you apply the same method with your children, there is a chance it may not work.
How to teach how to tie your shoes
If you still haven’t found a technique to teach your child to tie their shoes, here are some that might be for you.
1. Teach him to move his fingers
Various factors contribute to the difficulty that the child encounters in learning this action. First, fine finger dexterity and coordination of movement is required.
In this sense we recommend, before teaching your child to tie shoes, to teach him to move his fingers around the laces .
To do this, your child must use his fingers like pliers (thumb and index finger) to secure the strings. During this action he must keep the rest of his fingers out of the way. If you help him first by teaching him to grasp the string and then guiding his hand in the movements, he will be able to see how.

2. Use strings of different colors
Another useful tip is to use strings of two different colors so that the child can distinguish left from right while he is intent on weaving them.
In case you do not have strings of different colors available you can use a marker to color a white string. The use of colors helps most children to memorize and understand the process.
Once you have arranged the colored laces you have to put the shoes on your child. Subsequently, we advise you to stand by his side and slowly show him the gestures to be performed so that he can understand. You will have to repeat the action once or twice before it learns.
3. The rabbit ear technique
Probably the funniest technique for teaching your child to tie their shoes is “rabbit ears”.
It consists of folding the strings on themselves to form two rabbit ears. To make them, we recommend always using two strings of different colors and starting by tying a knot. Then you will have to fold each string on itself to form the ears.
It is important to show the little one how to hold the knot between the thumb and forefinger while weaving the strings to make the ears. Finally, teach him to pinch his ears by pulling the strings on the sides.

4. The technique of cardboard shoes
It is also possible to associate a manual activity with the teaching of this technique. The latter consists in creating a cardboard model in the shape of a shoe with which the child can practice with strings, knots and laces.
Don’t worry, its implementation is very simple. The only thing to do is to draw a shoe complete with lace holes on a piece of cardboard with a marker. With an awl you can make holes for the laces. Once the cardboard has been prepared, you can insert the strings, little by little, like you do with real shoes.
In conclusion it is necessary to remember that the fundamental process in learning for all children is repetition. Although sometimes children need commitment to learn and parents don’t always find effective teaching techniques.
In order to be of help to your child, you will need to arm yourself with patience. Most little ones need to repeat things several times to familiarize themselves with the process before it becomes automatic.


